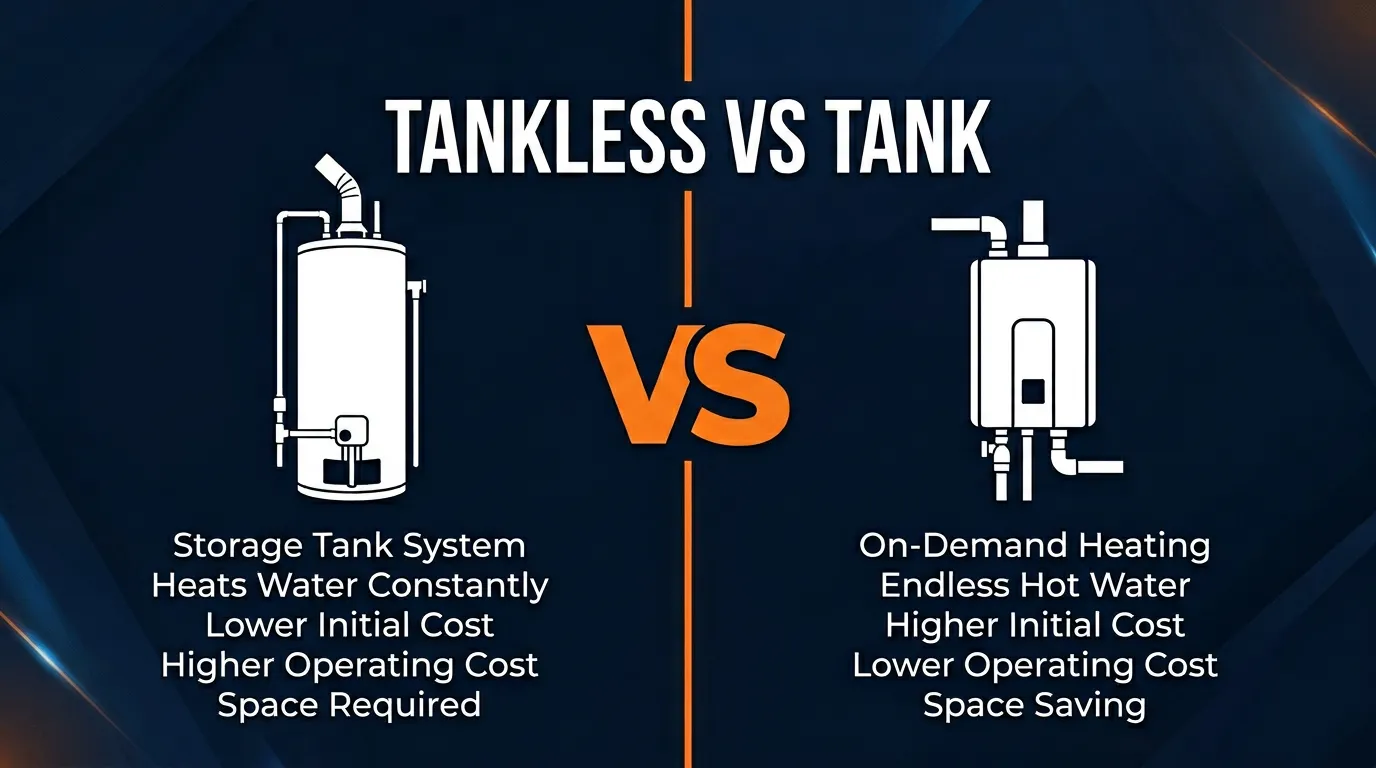
Flushing your water heater is one of the simplest things you can do to keep it running efficiently. Over time, minerals and sediment settle at the bottom of the tank, reducing heating performance and shortening the lifespan of your unit. Here in Rowlett, TX, water hardness levels sit between 100 and 150 ppm, so sediment builds up faster than in many other areas.
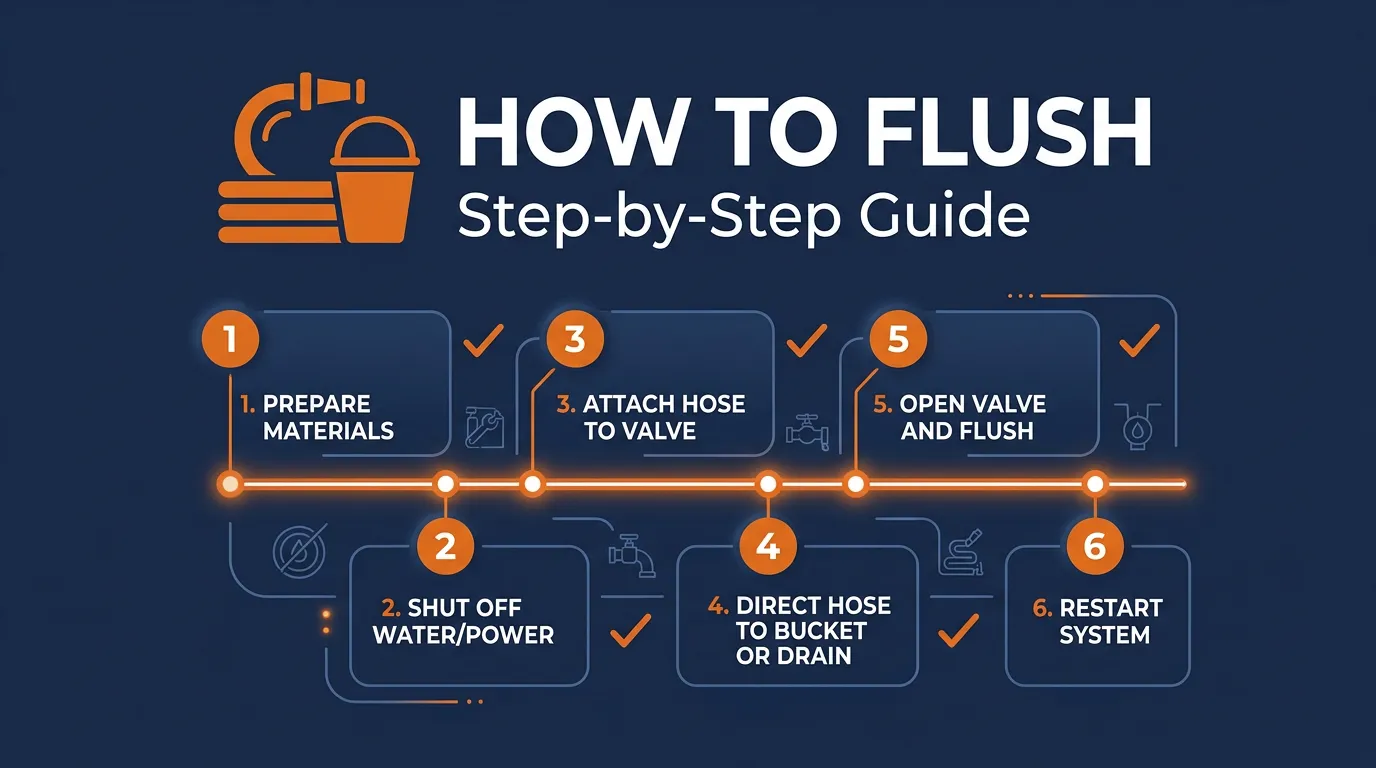
Below is our complete step-by-step guide to draining and flushing your water heater safely.
Tools and Materials You Will Need
Before you start, gather these items so you have everything on hand:
- Garden hose (long enough to reach a floor drain, driveway, or yard)
- Flathead screwdriver
- Adjustable pliers or wrench
- Work gloves (heat-resistant recommended)
- Safety glasses
- Bucket (for catching initial drainage)
- Towels or rags for drips
How to Flush Your Water Heater: 10 Steps
Follow these steps carefully. If at any point you feel uncomfortable or notice something unusual, stop and contact a professional right away.
Step 1: Turn Off the Power Source
For electric water heaters, go to your breaker panel and switch off the breaker dedicated to the water heater. For gas water heaters, turn the gas control valve to the "pilot" or "off" position.
⚠ Safety Warning: Never skip this step. Heating an empty tank can burn out electric heating elements or damage the tank lining. On gas models, an active burner with low water creates a serious fire risk.
Step 2: Turn Off the Cold Water Supply
Locate the cold water inlet valve at the top of your water heater and turn it to the closed position. This prevents new water from entering the tank while you drain it.
Step 3: Let the Water Cool Down
Water inside your tank can reach 120 to 140 degrees Fahrenheit. Wait at least one to two hours after turning off the power before draining, or run hot water from a faucet for several minutes to speed up cooling.
⚠ Safety Warning: Hot water can cause severe burns. Always wear gloves when handling the hose and drain valve.
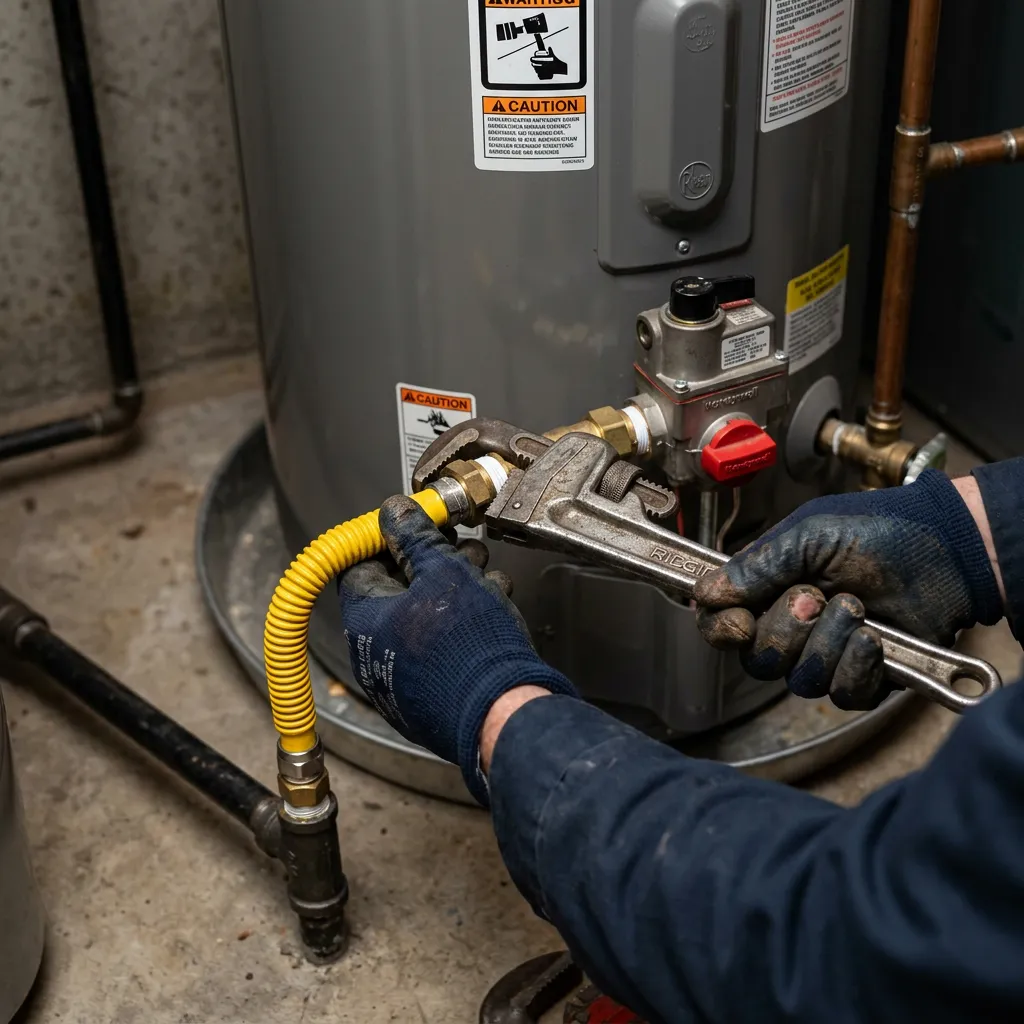
Step 4: Attach a Garden Hose to the Drain Valve
The drain valve is located near the bottom of the tank. Thread your garden hose onto the valve securely and run the other end to a floor drain, driveway, or yard area where sediment-laden water will not cause damage.
Step 5: Open a Hot Water Faucet in Your Home
Open a hot water faucet on an upper floor or at a sink near the water heater. This breaks the vacuum in the plumbing lines and allows the tank to drain freely. Leave it open throughout the process.
Step 6: Open the Drain Valve
Slowly open the drain valve using your flathead screwdriver or pliers. Water will begin flowing through the hose. The initial flow may appear rusty or cloudy — that is the sediment you are removing. Let the tank drain completely, which typically takes 15 to 30 minutes.
⚠ Safety Warning: Even after cooling, the water may still be warm. Keep children and pets away from the drainage area.
Step 7: Flush the Tank with Cold Water
With the drain valve still open, turn the cold water supply valve back on briefly. This sends cold water through the tank, flushing out remaining sediment. Let it run for two to three minutes or until the water from the hose runs clear.
Step 8: Close the Drain Valve and Disconnect the Hose
Once the water runs clear, close the drain valve completely and make sure it is not dripping. Remove the garden hose and wipe up any residual water.
Step 9: Refill the Tank
Open the cold water supply valve fully to refill the tank. Keep the hot water faucet from Step 5 running. Once a steady stream flows (no sputtering air), the tank is full. Close the faucet.
Step 10: Restore Power
For electric water heaters, flip the breaker back on. For gas water heaters, turn the gas control valve back to your desired temperature setting and relight the pilot if necessary.
⚠ Safety Warning: Never restore power to an electric water heater until the tank is completely full. Running dry will destroy the heating elements, which is a costly repair that is entirely avoidable.
How Often Should You Flush Your Water Heater?
The general recommendation from Bob Vila and most manufacturers is once per year. However, if you live in an area with hard water — and Rowlett definitely qualifies — we recommend flushing every six to twelve months. The harder your water, the faster sediment accumulates, and the more frequently you need to flush.
If you have a water softener installed, you can typically stick with an annual schedule. Households without a softener in the Rowlett area should lean toward every six months.
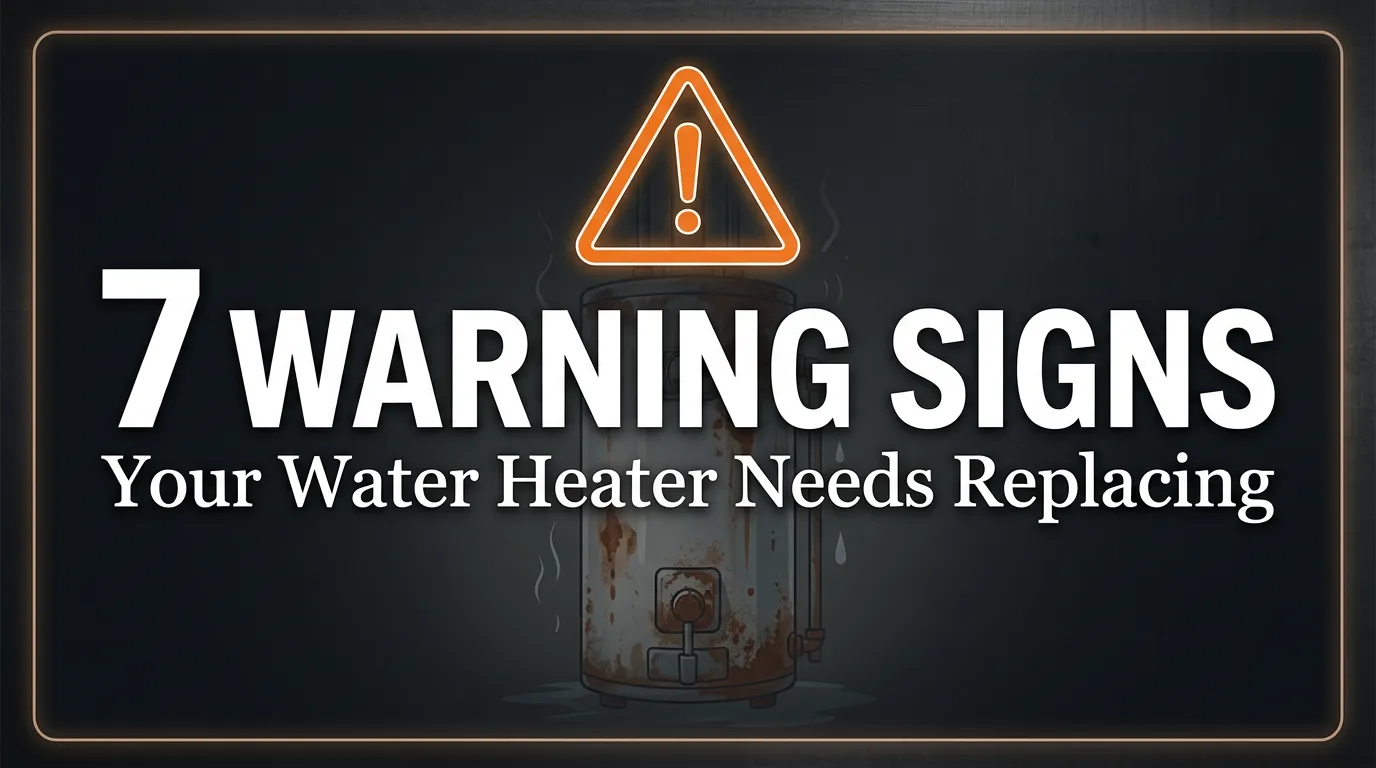
Signs Your Water Heater Needs a Flush
Not sure if it is time? Watch for these telltale indicators:
- Popping or rumbling sounds: Sediment at the bottom of the tank creates noise as steam bubbles push through the buildup.
- Longer heating times: Sediment insulates the burner from the water, forcing your unit to work harder.
- Higher energy bills: Reduced efficiency means higher gas or electric costs each month.
- Lukewarm water: If your unit struggles to reach the set temperature, sediment is a likely culprit.
- Rusty or discolored hot water: Mineral deposits can discolor your water, especially when you first turn on a hot tap.
- Rotten egg smell: Bacteria thrive in sediment-heavy tanks, producing hydrogen sulfide gas.
When to Call a Professional Instead
While flushing is a manageable DIY task for most homeowners, there are situations where you should call us for professional maintenance instead:
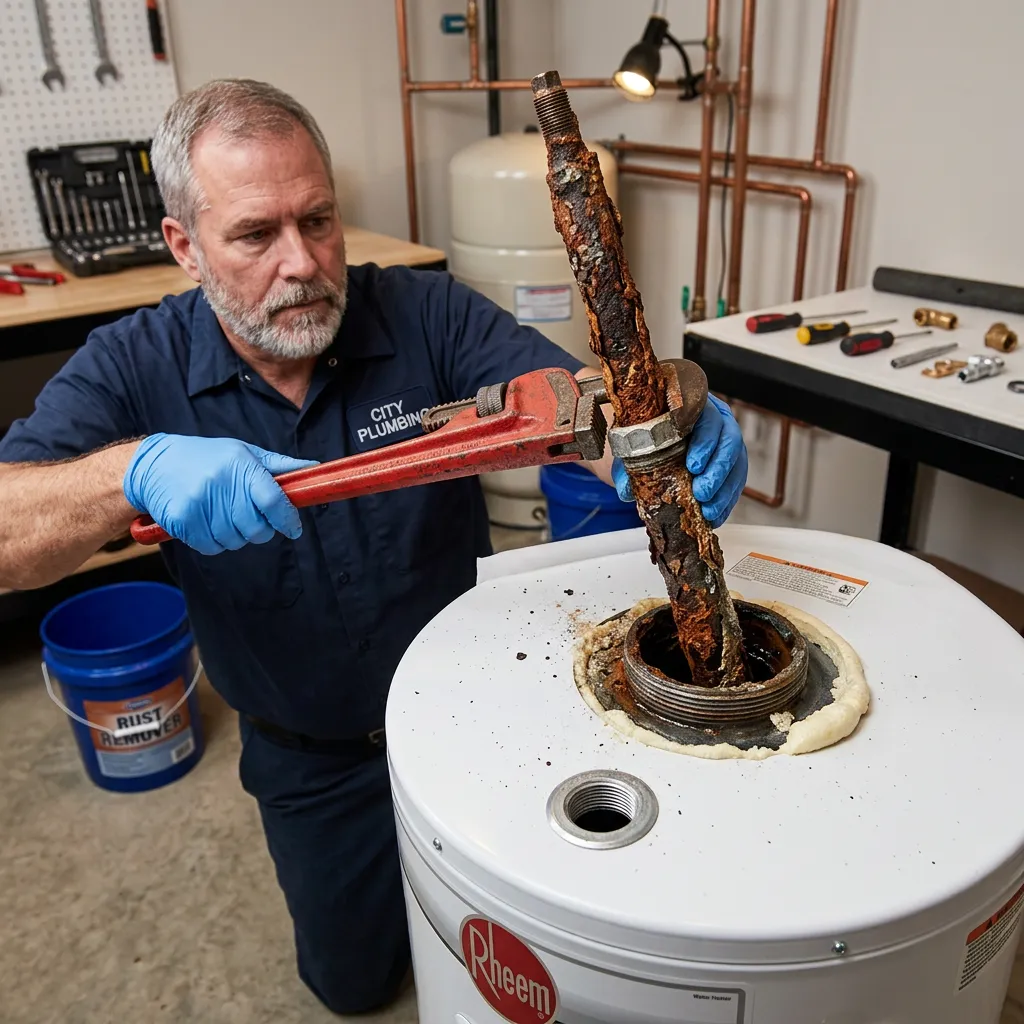
- The drain valve is stuck or corroded: Forcing a corroded valve can break it off entirely, causing a flood. We have the tools to handle this safely.
- You have never flushed your unit: Years of sediment buildup may require commercial-grade descaling solutions and high-flow equipment that we use for severe cases.
- Your water heater is over 10 years old: Older units are fragile, and the drain valve, anode rod, and tank lining may need professional evaluation.
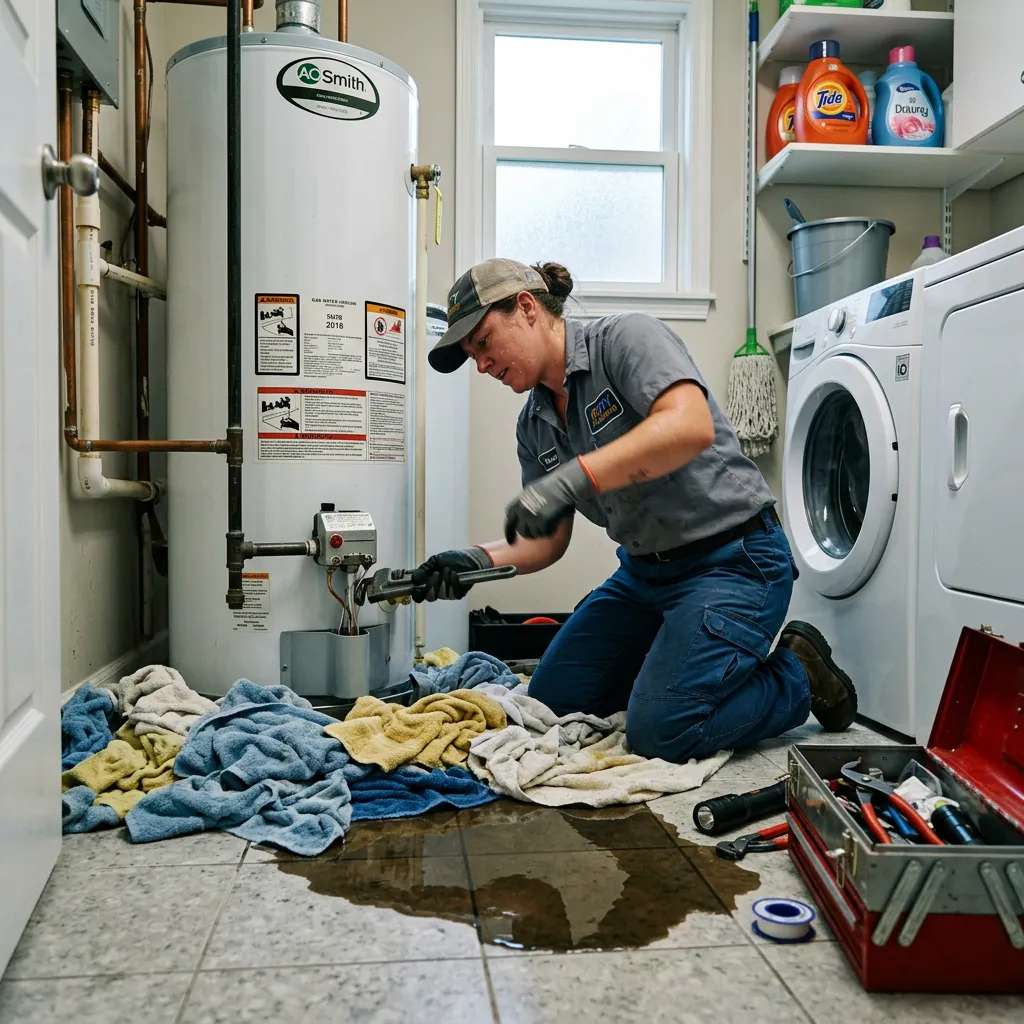
- You notice leaking during the process: Any unexpected leaking from the tank body (not the valve) suggests corrosion, and you should stop immediately.
- You smell gas: If you smell natural gas at any point during the process, leave the area immediately and call your gas company, then call us.
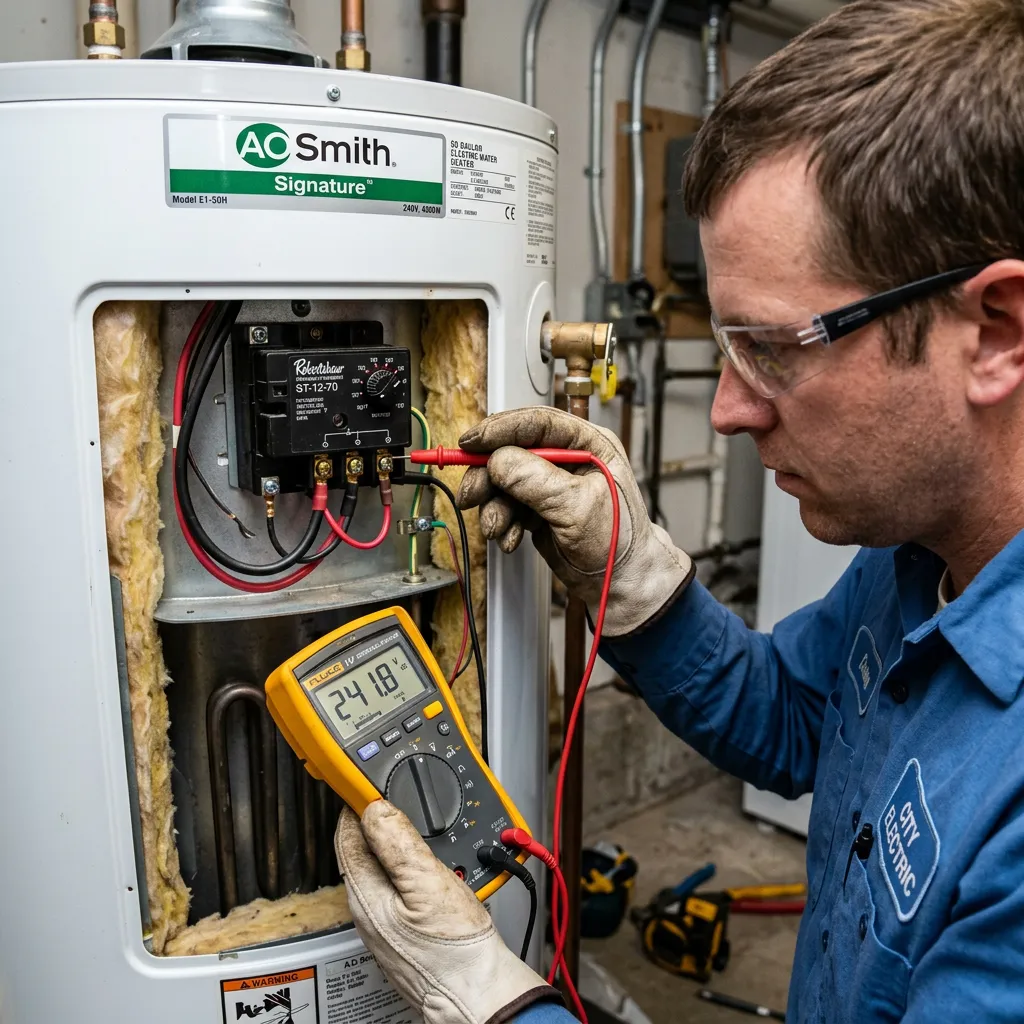
A professional maintenance visit includes flushing plus inspecting the anode rod, testing the TPR valve, checking connections, and evaluating overall tank condition. According to the U.S. Department of Energy, routine maintenance can extend your water heater's lifespan by several years and cut energy use by up to 10 percent.
Keep Your Water Heater Running Strong
Flushing your water heater is a straightforward task that pays for itself in lower energy bills, fewer repairs, and a longer-lasting unit. For Rowlett homeowners dealing with our hard water, staying on top of this is especially important.
If you would rather leave it to the pros or have run into any of the warning signs above, give us a call. We provide thorough water heater maintenance throughout Rowlett and are always happy to help keep your hot water flowing.